
DIY Planner, Card or Photo Holder
MERRY CHRISTMAS and HAPPY HOLIDAYS! DIY Planner, Card or Photo Holder is what we have for you today. This is the perfect project for you to create to tuck in your purse, backpack or briefcase. With all of the pictures you take from the holidays, this would be a great way to send those wonderful memories to your friends and loved ones. EASY RIGHT? Let’s get started!

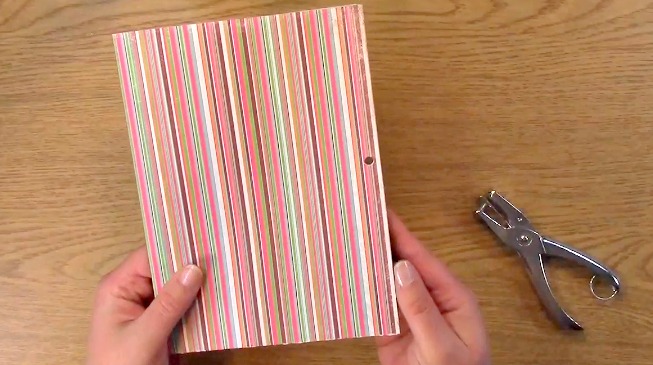
This is our project we are going to create. Super simple and cute as well as versatile!
Supplies Needed for the DIY Planner, Card or Photo Holder Project
12 x 12″ piece of paper (I used double sided card stock)
Stampin Up Paper Trimmer with Scoring Blade
Scissors
Coordinating Ribbon
Bone Folder

Take out your decorative paper and paper trimmer.

Line up your paper to 4″ on the paper trimmer.
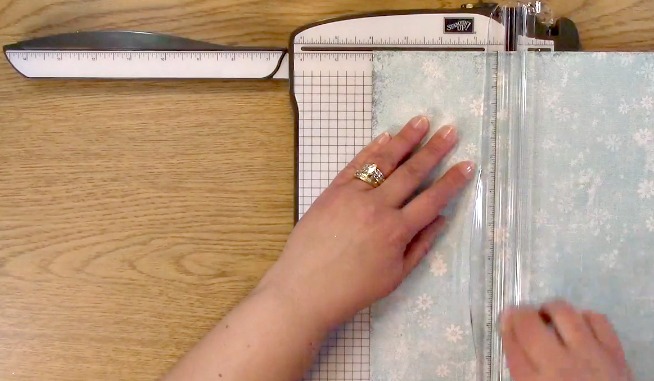
Score your paper at 4″ with your scoring blade.

Take your paper out from the trimmer and fold at the score lines.

Pull out your bone folder.

Using your bone folder, push down on the crease to ensure a crisp fold on your DIY Planner, Card or Photo Holder Project.
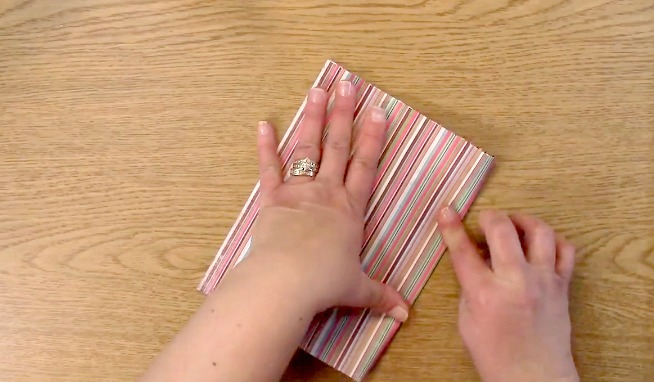
You can then either turn your paper 1/4 of the way and score your paper at 6″ or you can just fold your paper in half as shown above.

Once again, use the bone folder and press down on the fold to ensure a good crease.

This is what the DIY Planner, Card or Photo Holder Project looks like once it has been folded and creased.

Check to see where the fold is. You want to be sure you punch a hole above the folds.
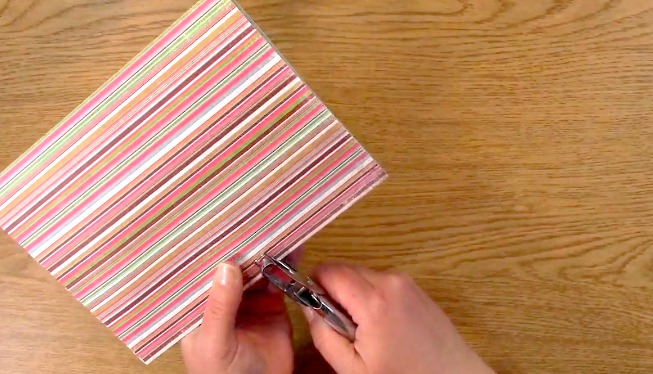
Punch the hole in your paper through all four layers.
This is what it looks like once all holes are punched through.

Take out your ribbon and trim off approximately 8-12 inches for your DIY Planner, Card or Photo Holder Project.

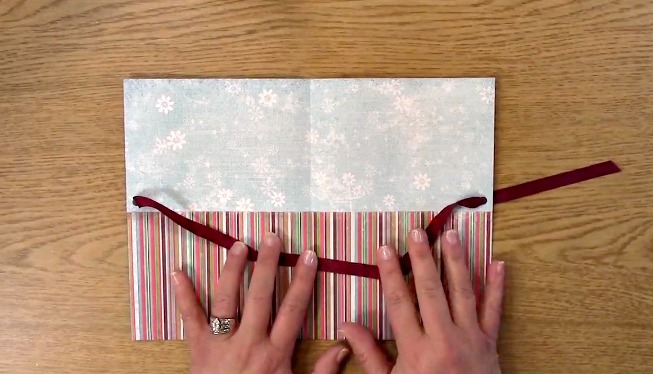
Put the ribbon in through the first hole,

Pull the ribbon all the way through all four layers.
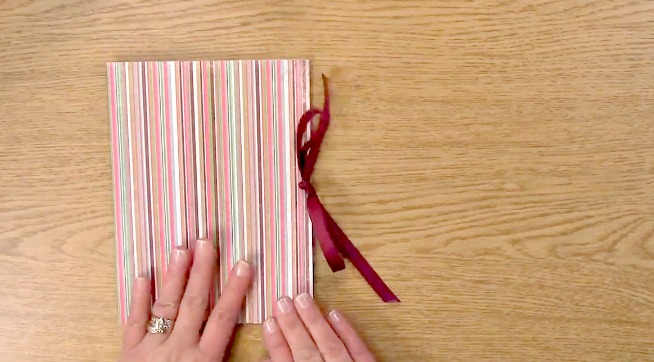
Tie your ribbon in a bow.

You have completed your project! Think of the endless possibilities! You can use this creation for different themes, celebrations, holidays and so much more!

For this weeks giveaway we are giving away a $15.00 credit to our store! Winner announced next week!
To qualify to win, you must be BOTH:
A public follower on YouTube, subscribe to our mailing list/blog posts and you may also comment on this blog post for an additional entry to win! Winners will be announced next week on our Mondays with Melissa blog post!
BE SURE TO check to see if you are a winner EVERY WEEK. If you do not contact me within two weeks of the announcement of winning, you will forfeit your prize. Thank you for your understanding.
Subscribe to BOTH with MATCHING NAMES to be eligible. If I am unable to match you with your subscription to both the email list and the YouTube Channel, you will miss your chance to win a prize. If I can’t decipher if you are a matching subscriber (if your profile doesn’t show publicly who you subscribe to) and I can’t confirm you have subscribed to both, you will not be eligible.

For last weeks giveaways we are giving away the A Creative Journey with Melissa Sentiments for All Occasion Stamp Set

and the Spellbinders Aristocrat Die Cut set.
The winners are Kim Miller and Malika!
Winners, please send me your contact information via contact page on our website, which post you are a winner from and I will get your prize out to you! Thank you so much for being a YouTube follower and subscribing to our mailing list/blog posts!
Thank you for joining us for the DIY Planner, Card or Photo Holder Project. I hope I have inspired you to create something that can be given as a gift or used for yourself! BE SURE TO CHECK BACK!
Have a wonderful week and thank you for going on A Creative Journey with Melissa.


