Saran Wrap and Paint Technique
Do you want to learn a cool technique today? Thanks for joining us for Monday’s with Melissa. Today I am going to be showing you how to use acrylic paint and saran wrap (plastic wrap) for a really neat background effect for your creations. We are going to use the background creation to create a birthday card. Whether you learn better by video or a pictorial, we have both! Let’s get started!
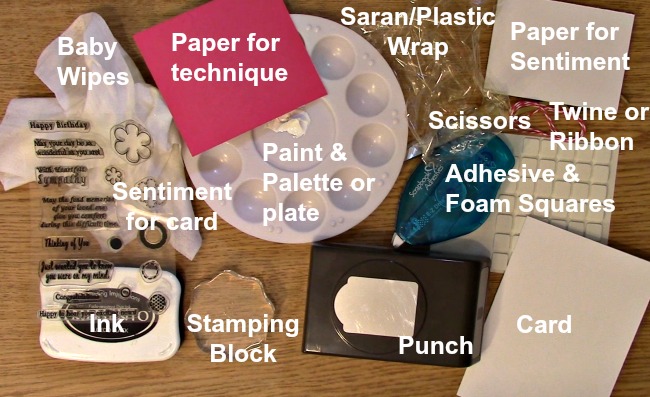
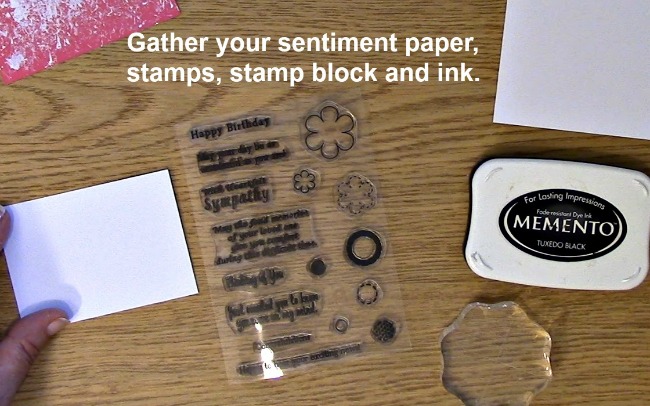
Here is a list of the supplies you will need to create this:
Baby wipes
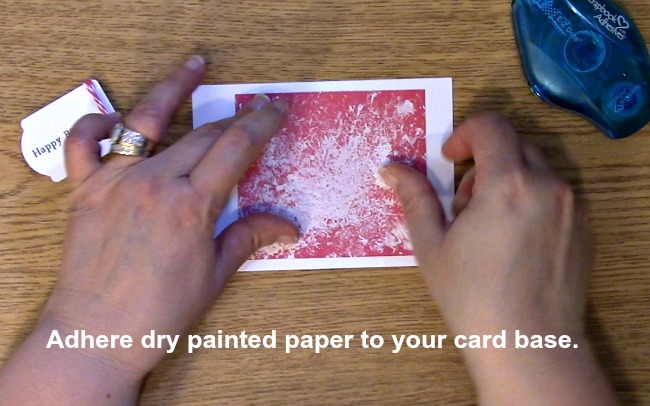
Paper for paint technique
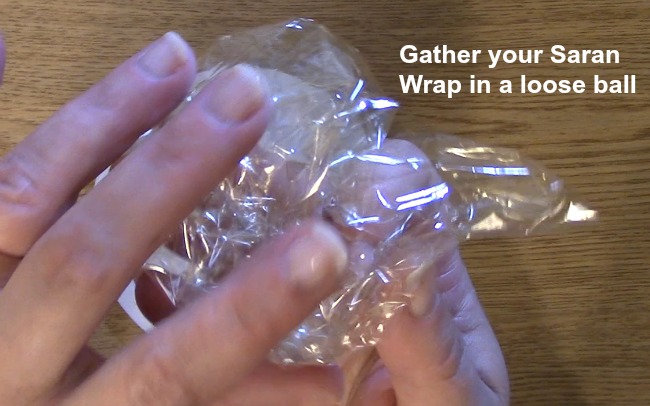
Saran/Plastic wrap
Paper for sentiment
Scissors
Twine or ribbon
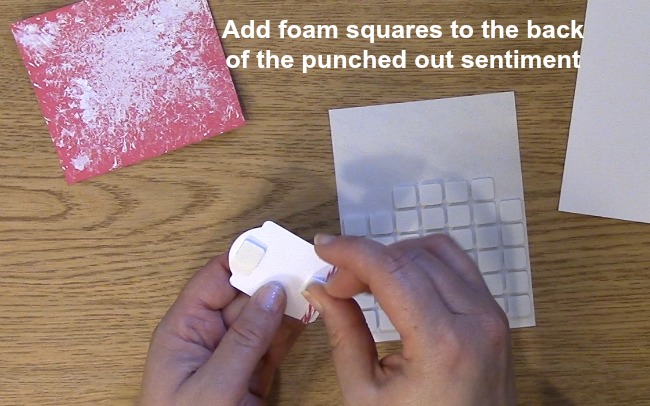
Adhesive and foam squares
Paint and palette or plate
Sentiment for card
Ink
Stamping block
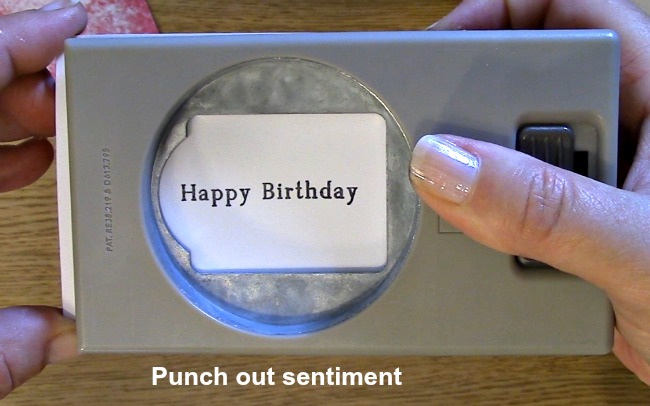
Punch
Card

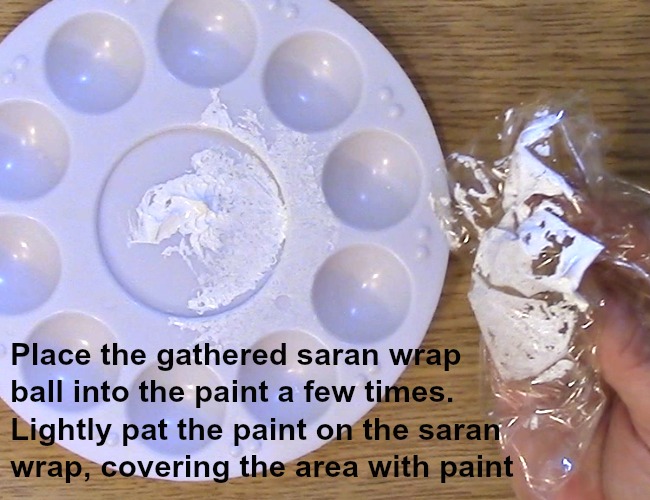
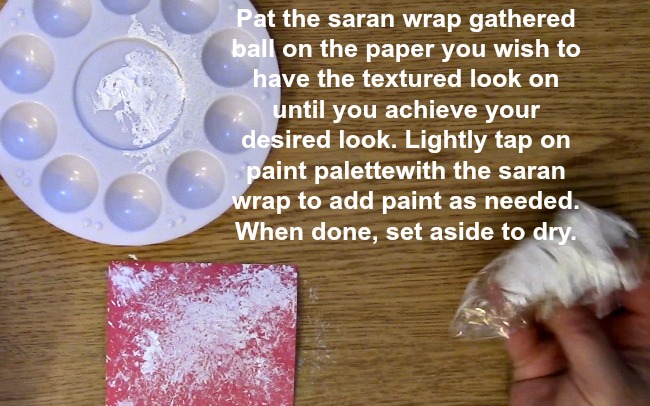
With the paint, you may have to blot (pat) off a little bit of the paint to get the desired look because you don’t want too much on your creation or else you will miss the texture of the plastic/saran wrap.

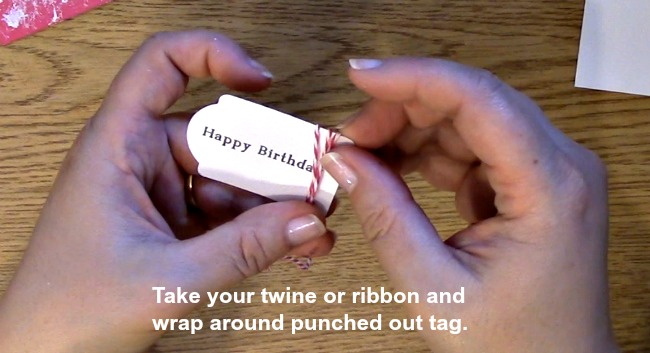
If you watched the video, you will see that I didn’t like where the knot was for my tag sentiment. This is a quick tip on how to solve that problem so that you don’t rip your paper while trying to move your knot or bow to the place you wanted it to be for your project.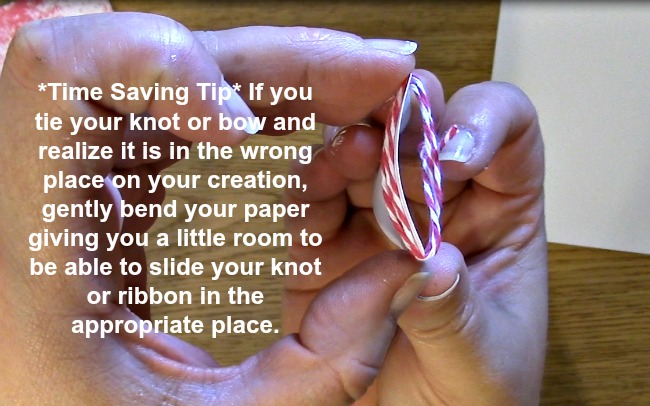
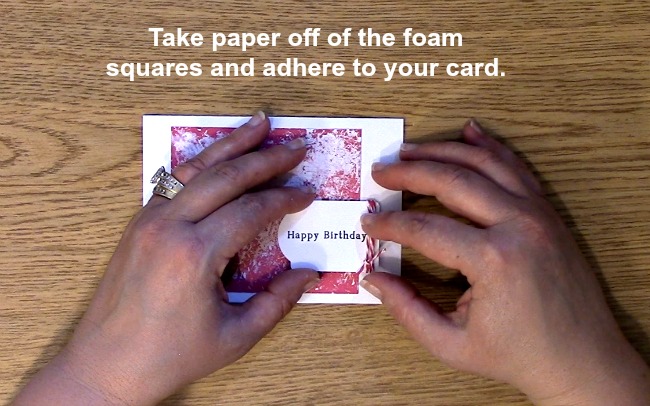
The Result:
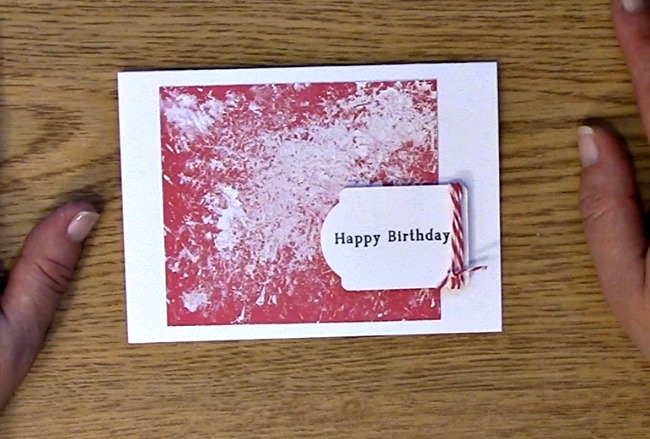
We hope you enjoyed this technique and creation today. Please be sure to subscribe to our blog and YouTube channel to keep up to date with our tutorials and products! Have a great day and we hope you enjoyed taking A Creative Journey with Melissa.