
Chameleon Pens – Creating Your Personal Color Guide
For today’s Mondays with Melissa we are going to be using Chameleon Pens – Creating Your Personal Color Guide. Chameleon pens or markers (I call them both! LOL) are alcohol based markers like copic markers however you only need 20 markers to create a huge variety of colors. The more blending solution (longer the cartridge is on your marker,) the lighter your color will start out as. It’s really an awesome product! Whether you prefer a pictorial or a video, we have you covered!
Before we get started, I want to be sure that I announce who is the winner of the Tool N’ One by Spellbinders from last week!
The winner is Barb Macaskill!!
Please be sure to sent me an e-mail with your shipping info and I will get your prize out to you!
Now, onto the tutorial!
For this tutorial you will need the following:
Pen (I used the Chameleon detail pen)
Y03, YG3, BL3, and RD4 Pens
Paper
All of the pens above are included in the complete set of 22 Chameleon Pens. You are always welcome to do this for ALL of your markers however doing this in smaller amounts was much easier for the tutorial 🙂 I would also suggest you do all of the different times for each color so you have a record of what they will do. What a time saver to be able to look at a guide each time you are to color, right?
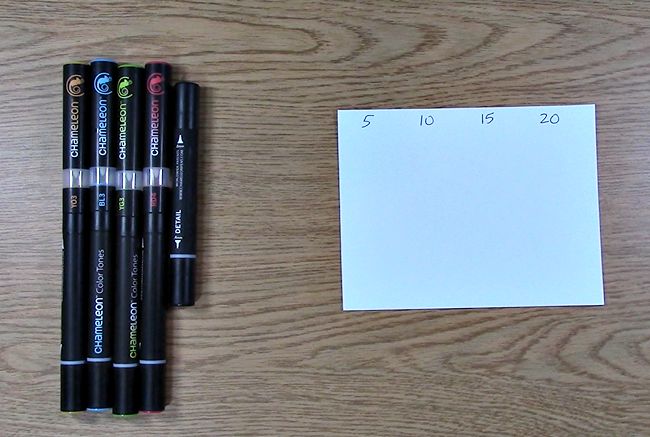
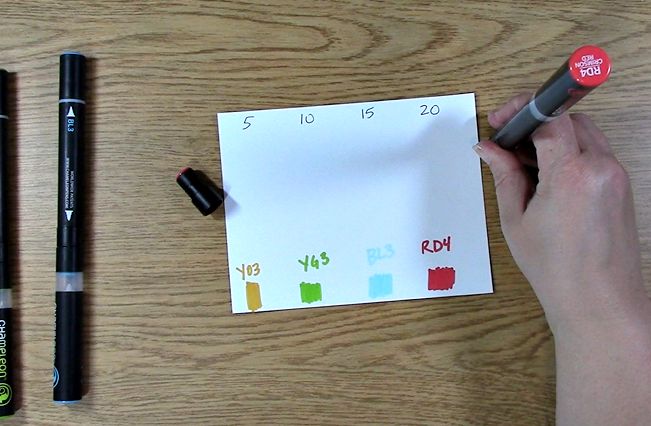
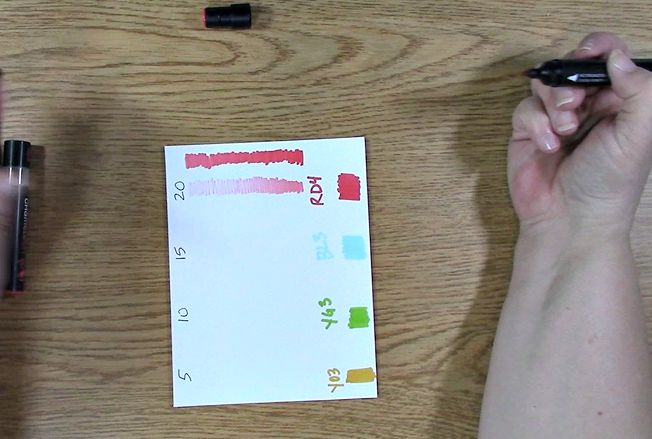
To begin, you take out your paper and write a few different numbers on them. I chose 5, 10, 15 and 20. These numbers will represent seconds that you will be keeping the blending solution on the chosen nib. This will give you a great guide as to what your colors will look like depending on the different amounts of time. You can do varying times so that you have a better idea as to what each of the colors do with varying amounts of blending solution. I am showing you four different colors and times. You can do this for each of your colors and keep a book so that you can have an idea as to what colors you want to use for your various projects! Regardless of which nib you choose to use for your guide, the color variation will be the same as it is the blending solution and ink that create the variance in color. Every guide should be a personal one as it would be different for each person. Not with the ink color but as with any marker or pen, the degree in which you push on the nib, how fast you color with it can make a difference.
The numbers at the top of your paper (as shown) 5, 10, 15 and 20 represent the number of seconds you will be keeping the blending solution on your nib.
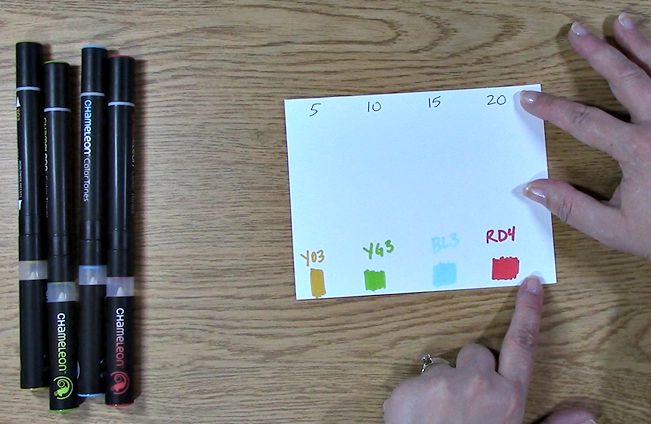
Choose your nib preference. For this tutorial, we used the bullet nib. Take off the cap for the color you are using. On the bottom of the paper, color a small area using your first marker. Be sure to mark it with the color name as shown.
 Repeat for the rest of the colors you wish to do the personal color guide for.
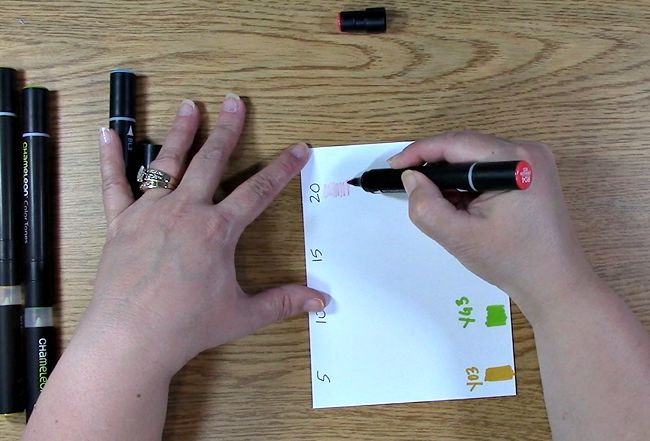
For the first example of the difference between adding the blending solution, I chose RD4. Take the cap off of your preferred nib. You will then take your blending solution cartridge (see below)

Take the blending solution cartridge and place it on the nib you have chosen.
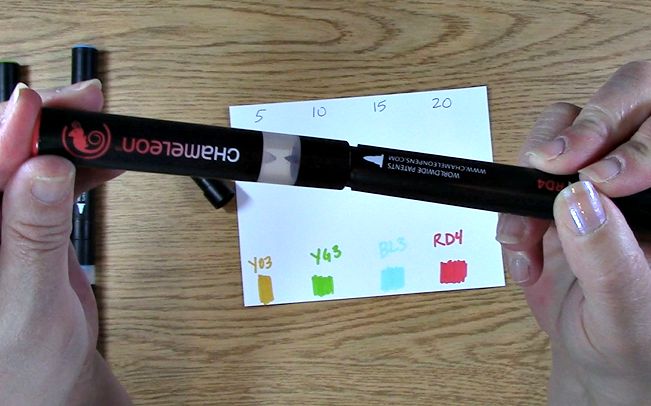
Be sure it is completely on so that the nibs are touching.
Hold your marker upright (vertically) with the blending solution cartridge on the top (closest to the ceiling)
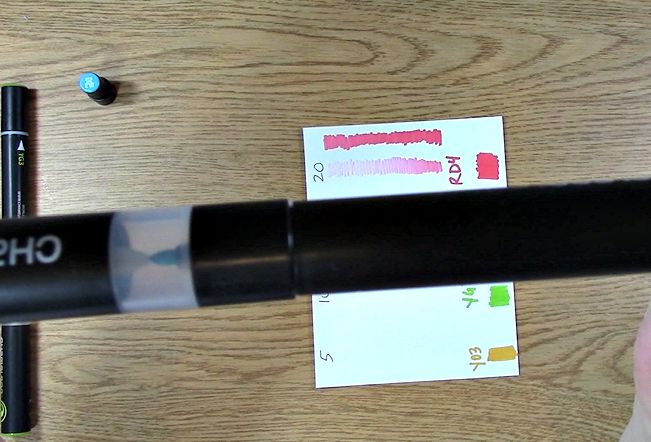
After your desired time has passed, take your blending solution cartridge off and set it aside. Begin to color with your pen.
As you can see the longer you color with the pen,
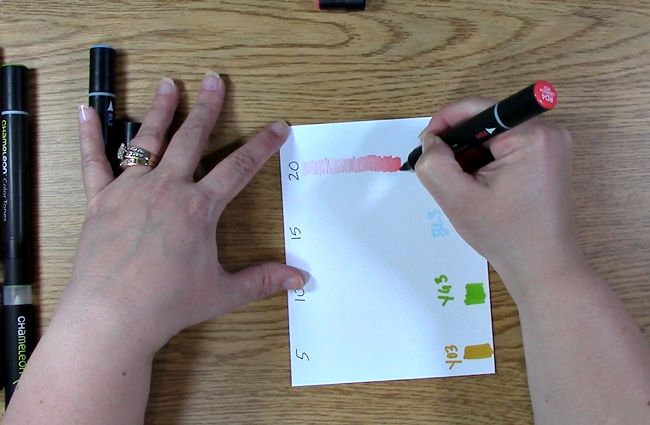
the bigger the difference in the color
until you get to the original color where all of the blending solution has been utilized.
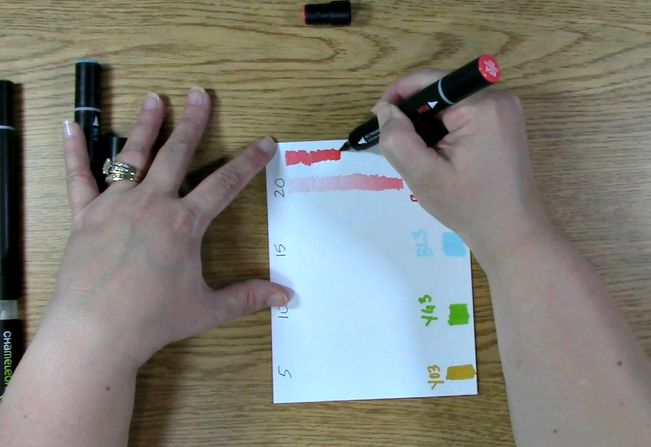
Repeat this for all of your chosen markers. I would suggest that you do each of the times for EACH marker. This will give you a more comprehensive guide for you to refer to.
I really hope you enjoyed this tutorial. I love the Chameleon markers/pens and think they are AWESOME! So awesome in fact I am sold out of the 22 pen collection sets however I do have a few of the smaller five packs of markers. Not only are they awesome, they are a forever marker/pen. Why you ask? Because you can change out the nibs and the markers are REFILLABLE! YES! Isn’t that great? If you are interested in purchasing them, please send me a note so I can put one aside for you. I will be ordering more but this will give you the opportunity to get them as soon as I receive my shipment which should be this week!
Thank you so much for joining us today and we hope you enjoyed going on A Creative Journey with Melissa.


