

Coloring with Chameleon Pens Showing Highlights
Coloring with Chameleon Pens Showing Highlights is what we have for you today. I don’t know about you but I always have a hard time showing the light source and highlights in my coloring. I truthfully think it is a struggle for me just because I get anxiety over it. Although I am a bit insecure and don’t feel I am good at it. If I took a deep breath and just focused, I would be fine… but I psych myself out most of the time.
Today I am going to show you a shortcut I use for Coloring with Chameleon Pens Showing Highlights. It has helped me and I hope it helps you too!

Supplies Needed
Ink
Stamp Block
Chameleon Pens
A Creative Journey with Melissa Coffee, Tea and Wine – OH MY! Stamp Set
Paper

Stamp your images on your paper and take out your RD4 Chameleon Pen.

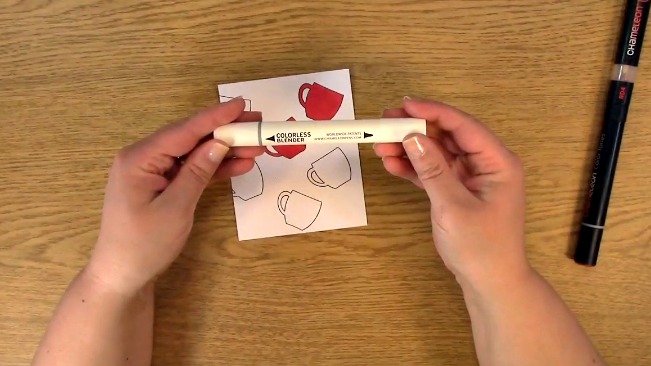
Remove the blending solution cartridge revealing the pen cap.

Take off the pen cap revealing the nib of your choice.

Place your blending solution cartridge on your pen.

Hold your Chameleon Pen upright for 10-15 seconds.

Notice how the tip of the nib is much lighter in color than the base of it. This is where the blending solution has been placed from the blending solution cartridge.

Color the area where you think the light would hit the stamped image in the picture. This will be very light in color therefore highlighting the area.

Continue to the handle of the cup which will also highlight that area.

Outline the image with your Chameleon RD4 Pen.

By using a flicking motion, color the image from the outside to the inside flicking toward your lightened area.

I am now doing the other side of the cup toward the lightened area.

Here i have colored the whole cup and the highlighted area is obvious but could be even more so.

Here is a close up. You could leave it like this but I don’t care for it. I think it needs to have a more finished and uniform look.

Place your blending solution cartridge on your pen nib again allowing the blending solution onto the tip of the pen nib.

Starting with the lightened area, color the cup over all of the areas you had previously starting with the lightest area first.

Here you can see there is a more uniform colored look and you can also see the highlight.

Here is another way to show the highlight even more. Add the blending solution cartridge on top of the nib.

Once you have had it upright for 5-7 seconds, go over just the area where you were highlighting the coffee cup.

Notice how it is blended however still shows the highlighted area a little more intense now that we have added more of the blending solution to the cup.
Now I am going to add just straight blending solution to the image on the cup to make the highlight even more intense.

This is what it looks like using the colorless blender after the previous steps we have taken.

Now I am going to show you what it looks like if you color the image without blending solution.

Now I am going to use the Colorless blending pen to highlight the area directly without any other addition of blending solution.

Here is a close up of the image once this has been done. Notice how light it is with just the colorless blender at the bottom versus the top right where there were layers of color placed on the cup.
Now you have three different ways you can show Coloring with Chameleon Pens Showing Highlights. I hope I have encouraged you to try to face your fear and just DO IT! YOU CAN!

This week for our Giveaway, we are giving away the A Creative Journey with Melissa Coffee, Tea and Wine – OH MY! Stamp Set shown in the video above.
To qualify to win, you must be BOTH:
A follower on YouTube, subscribe to our mailing list/blog posts and you may also comment on this blog post for an additional entry to win! If you do not contact me within two weeks of winning, you will unfortunately, forfeit your prize. Thank you for your understanding.
NOTE: Be sure you are not subscribed with two different names. If I am unable to match you with your subscription to both the blog and the YouTube Channel, you will miss your chance to win a prize. If I can’t decipher if you are a matching subscriber (if your profile doesn’t show publicly who you subscribe to) and I can’t confirm you have subscribed to both, I won’t be able to enter you in for the prize. **DO NOT COMMENT WITH YOUR ENTIRE EMAIL ADDY. Only give me the first 6 NOT INCLUDING YOUR HOST. Just enough for me to match your name will work perfectly. Your understanding is appreciated.


