
Create Your Own Planner Journal Project – Part 2 – Protecting Your Planner Journal Covers
Create Your Own Planner Journal Project – Part 2 – Protecting Your Planner Journal Covers is w hat we have for you today. If you haven’t seen the first post in this series, please go here so you can start from the beginning! We will be using a very simple way to protect your planner journal covers that is kid friendly! Nothing hot or too sticky is used! Are you ready? Let’s get buzzin’ shall we?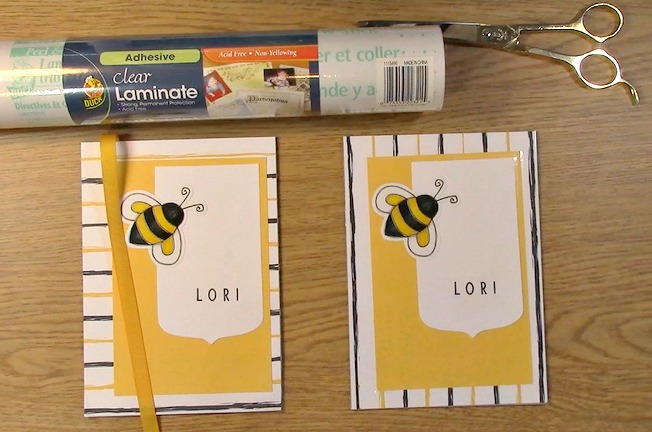
What you will need in order to Protecting Your Planner Journal Covers
Adhesive Clear Laminate (I used Duck brand)
Scissors
Your project
Get out your project.
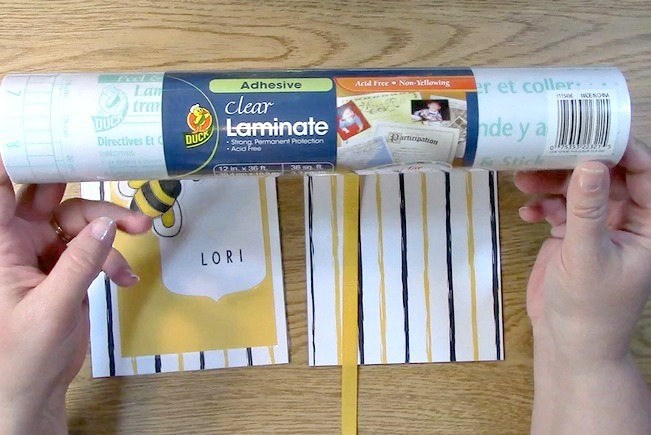
Take out your adhesive clear laminate
Cut out a piece of laminate with approximately one inch extra all of the way around the project.
We are using the adhesive clear laminate for Protecting Your Planner Journal Covers. You will want to fold this adhesive clear laminate in half and crease it.
To try to keep the laminate from rolling up, roll it up one way then flip and roll it the other way. This will help straighten the sheet out. I don’t always do this but it can be helpful.
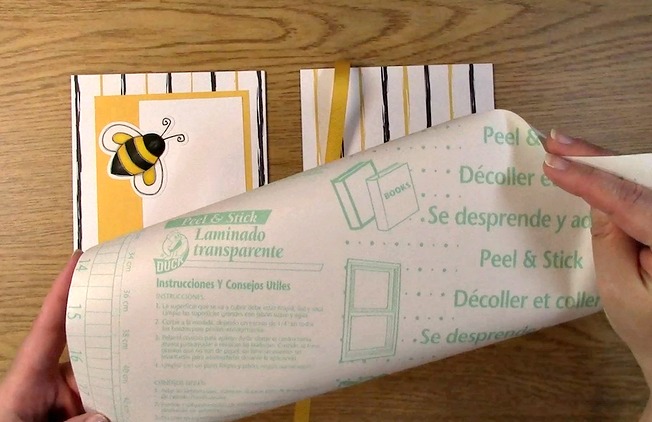
Pull the backing from the laminate.

Peel the backing to the half way mark of your laminate.
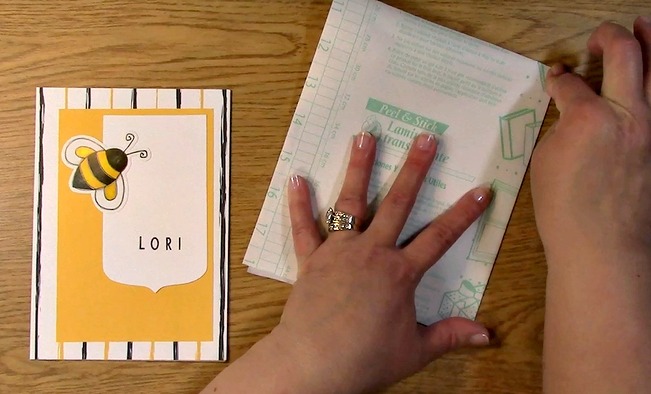
Place the back of your front cover project down on the adhesive laminate.
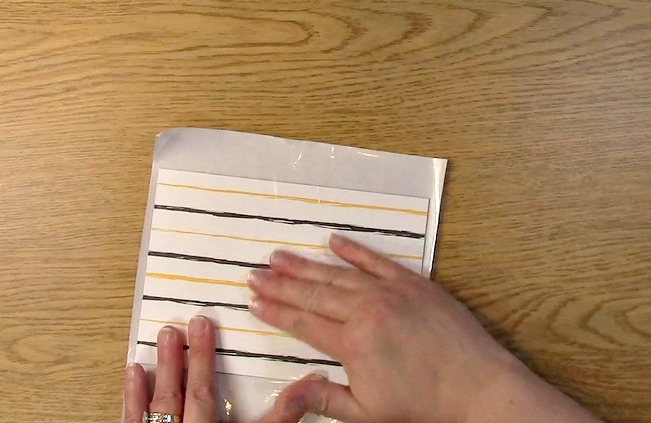
Press down on the laminate pushing all of the bubbles out toward the open edges.
Turn your project over so that the front cover is facing you now.
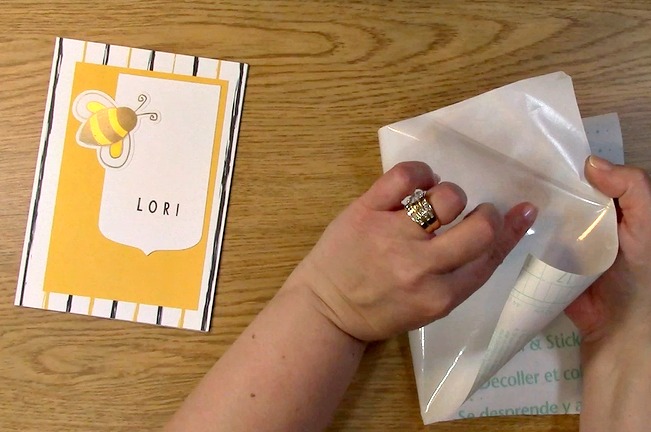
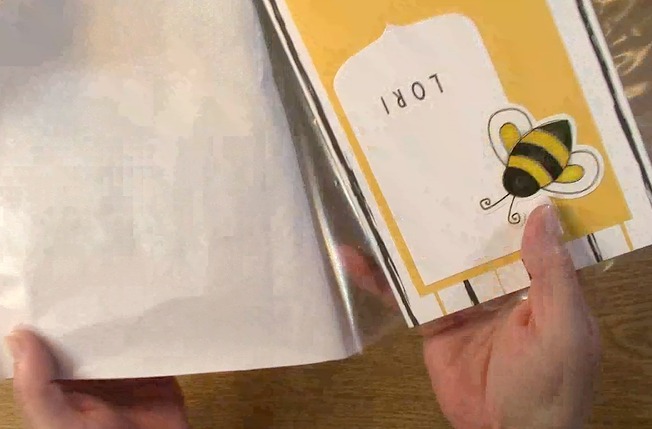
Pull the rest of the backing off of the laminate.
This is what it will look like after you take off the backing while you are Protecting Your Planner Journal Covers.
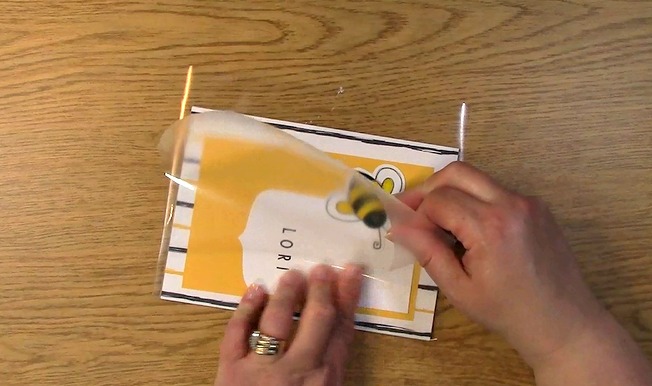
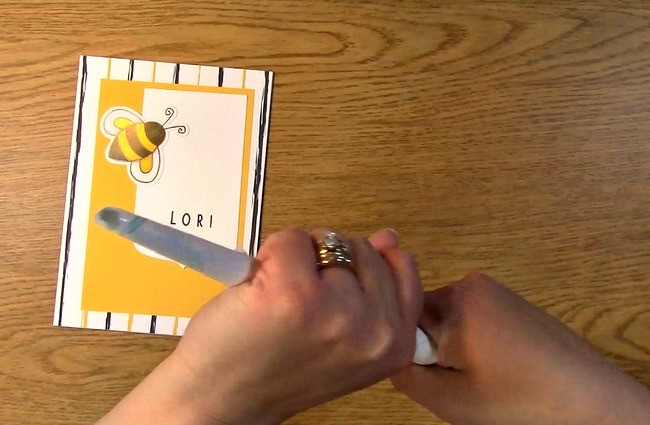
Fold over the laminate so that it is on the side of the front. Slowly rub the laminate toward the outer edge so that your rub out all of the bubbles.

Be sire to rub the edges of all of the areas ensuring proper adhesion.
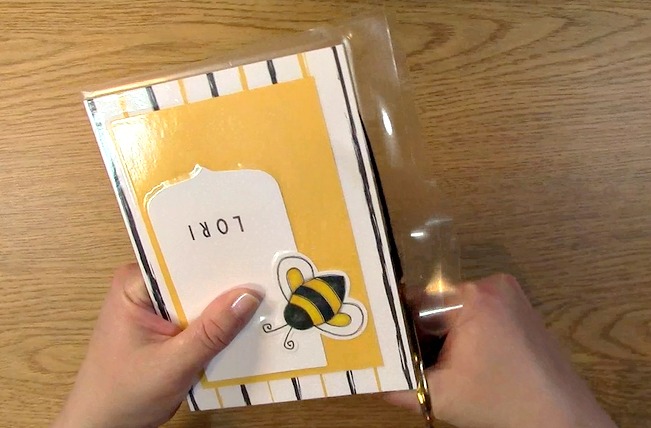
Take out your scissors and trim the cover. You can do it two different ways: trim closely to the edge or trim so that there is a small amount of overhang to ensure complete sealing.
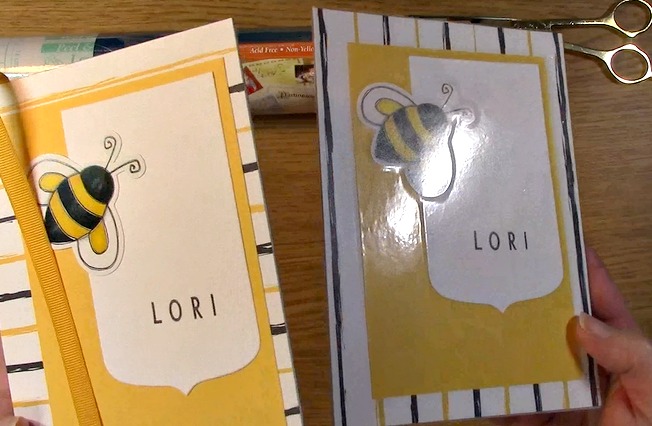
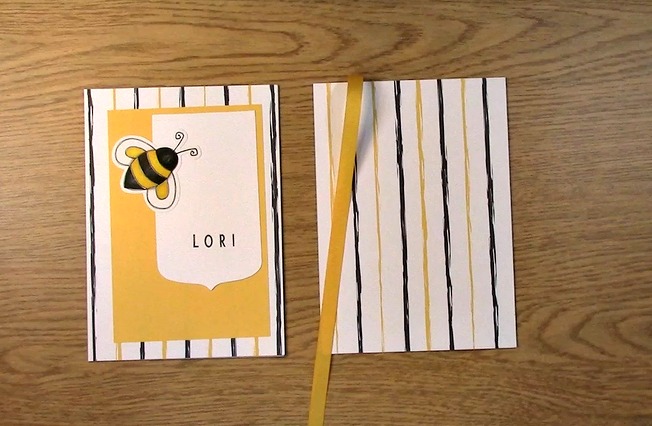
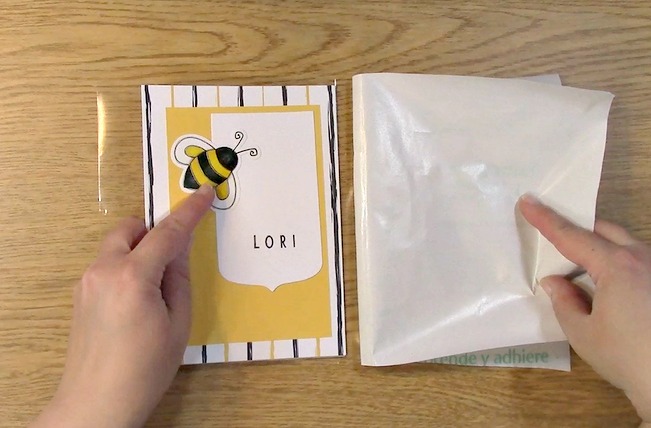
Your project is complete!! The left is not covered and the right has been covered. Be sure to repeat the above steps for the back cover of your planner journal.
We also wanted to be sure that you know about our sale! Today is the last day to save 30% on our in stock items! Be sure to use the code below!
Thank you for joining us today. We hope you subscribe to our You Tube Channel as well as our blog to get the latest tips, tricks, sales and info!
We hope you enjoyed going on A Creative Journey with Melissa.


