
Create Your Own Planner Journal Project – Part 1 – Making Your Planner Covers
Create Your Own Planner Journal Project – Part 1 is what we have for you today. I love journals, planners, smash books, project life and oh I just love playing with paper. In this video series, you will see how to create your very own planner with your own twist on it. There are so many variations, we hope to inspire your creativity! Please be sure to share your design with us!
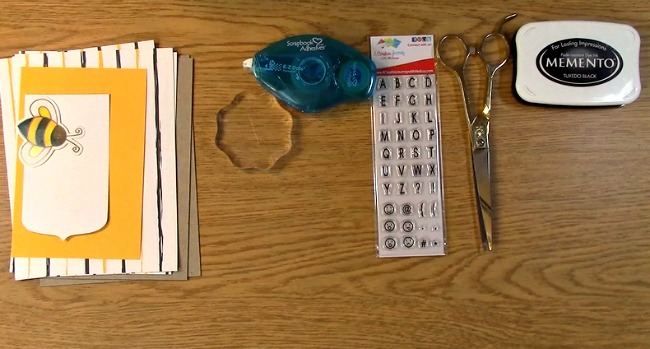
Supplies Needed for the Create Your Own Planner Journal Project
Everyday Alphabet Uppercase and Emoticon Stamp Set
Scissors
Ribbon
Adhesive
Black Ink
Chip Board
Patterned Paper
Solid card stock
Tag for name personalization
Bee Image
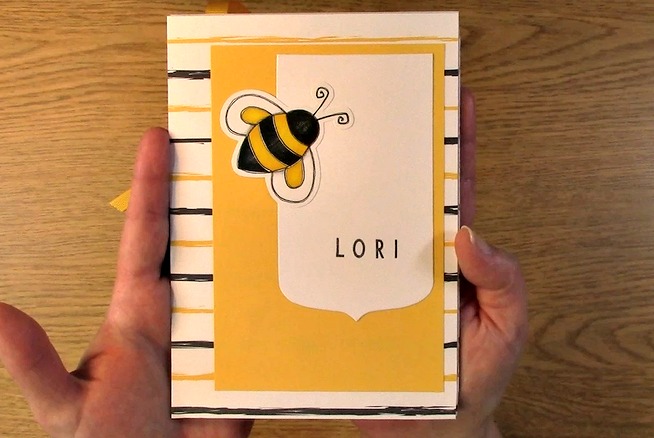
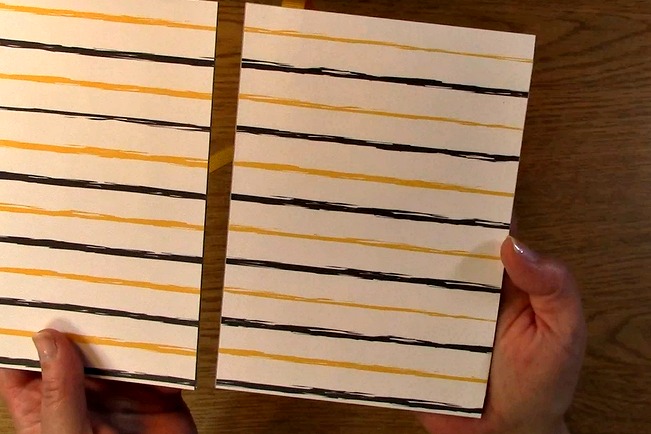
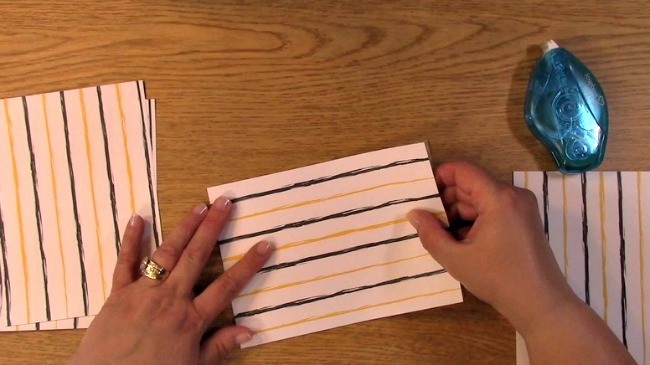
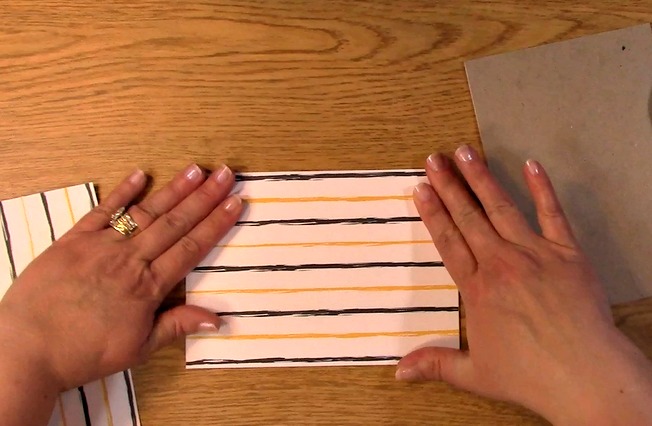
This is what we will be creating. For the example of the Create Your Own Planner Journal Project shown in the video above, I have the paper with horizontal lines.
This is the covered back of the chip board.
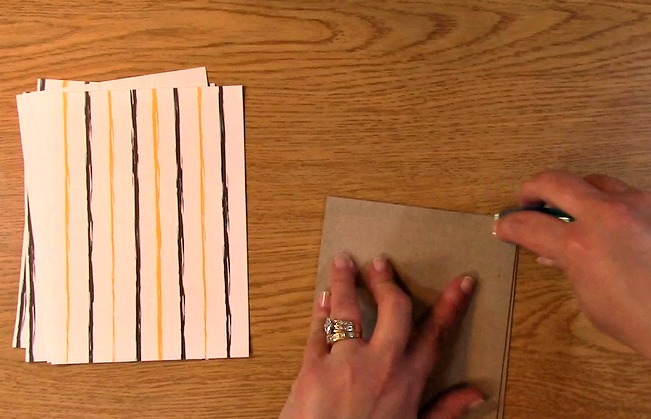
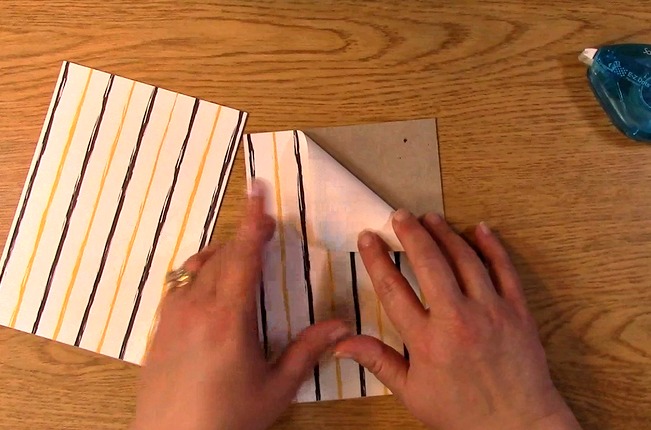
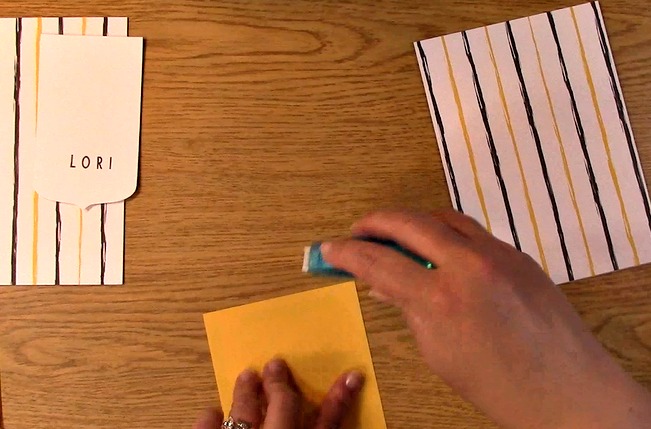
For the video, I have them with vertical lines as shown here. Apply adhesive to the chip board or the paper outer edges. Be sure the edges are covered to avoid lifting of the corners.
Apply the paper lining up the edges so the chip board is covered.
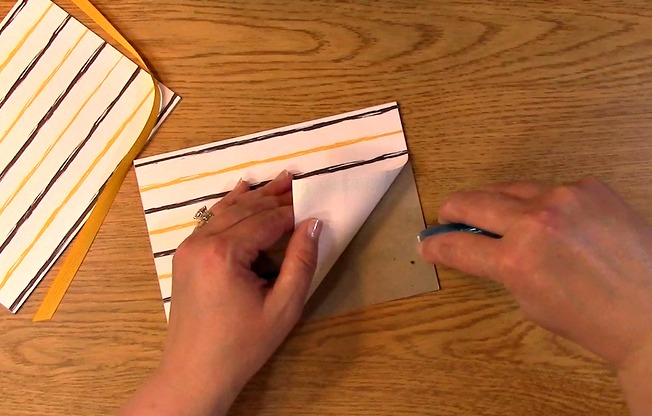
Be sure to push down on all of the outer edges to ensure adhesion of the adhesive. Repeat for the back side of the chip board leaving one part of the paper corner not adhered.
Be sure you have adhesive on the edges and take out the ribbon strip.
Apply adhesive in a line for the ribbon.
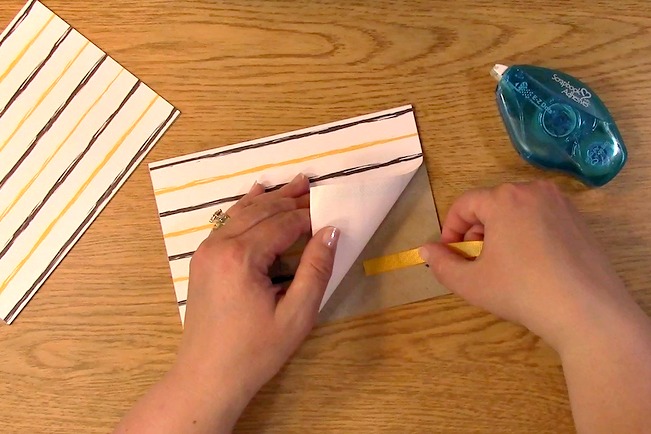
Adhere the ribbon on the adhesive line.
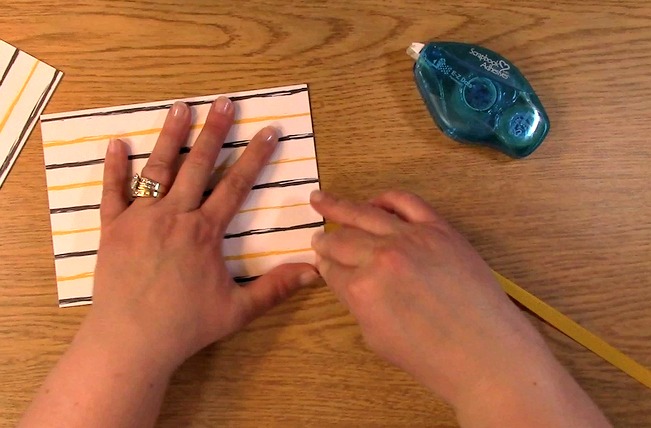
Press down on the edges ensuring they have adhered to the chip board.
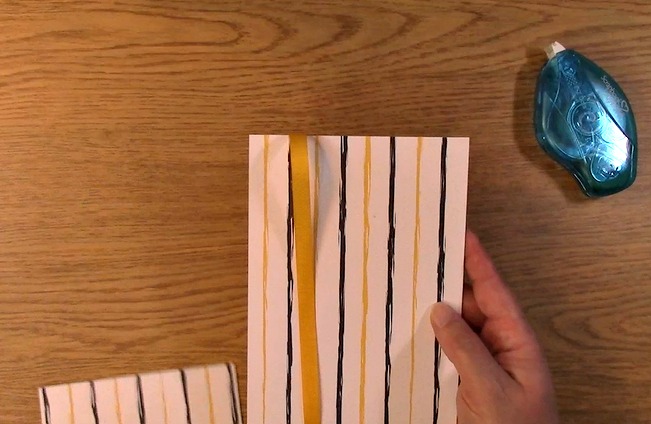
This is what it will look like.
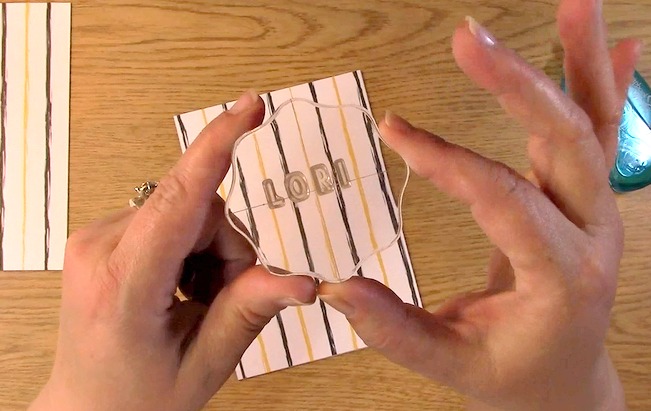
Take out the Everyday Alphabet Uppercase and Emoticon Stamp Set. Adhere the letters to the stamp block.
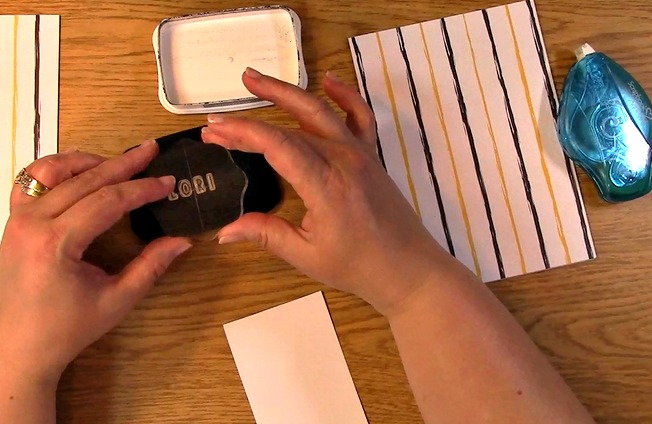
Apply ink to the letters.
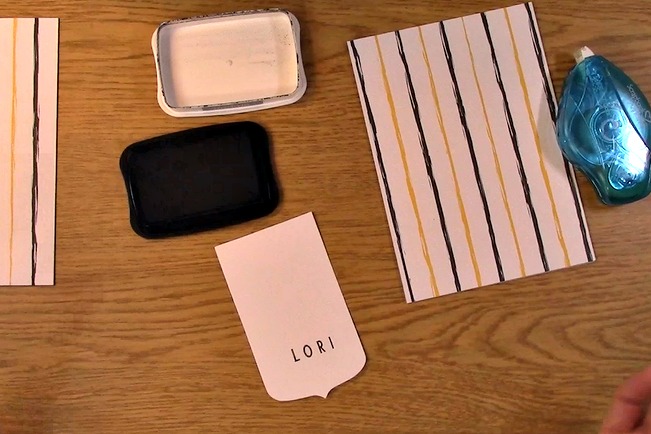
Stamp the name on the tag.
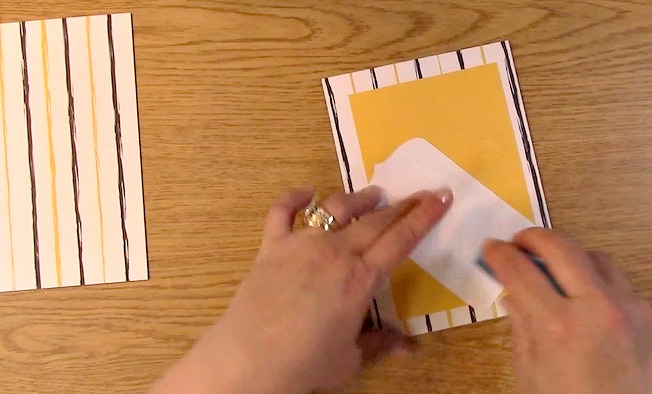
Apply adhesive to the back of the solid colored card stock mat.
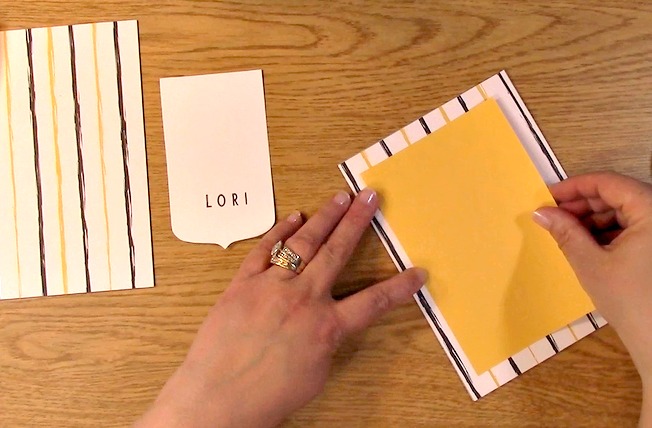
Adhere to the chipboard cover leaving space for the binding.
Apply adhesive to the back of the tag.
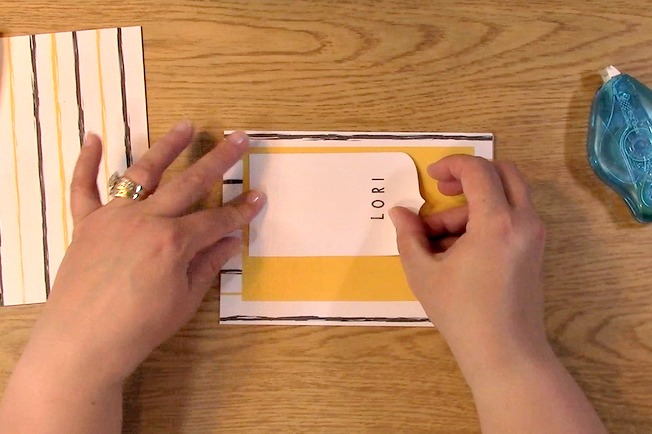
Apply to the solid colored card stock on the chip board cover.
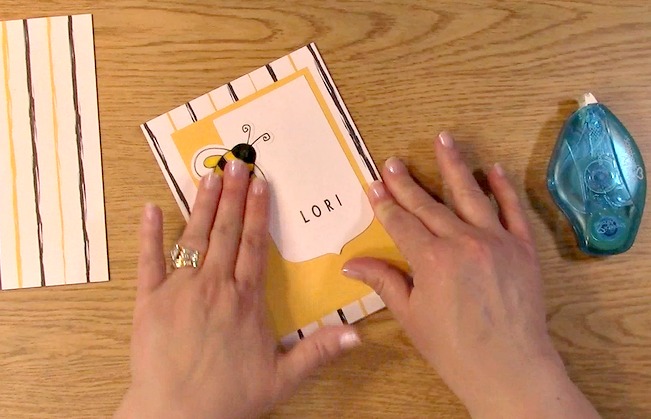
Apply adhesive to the bee image and adhere to the front cover.
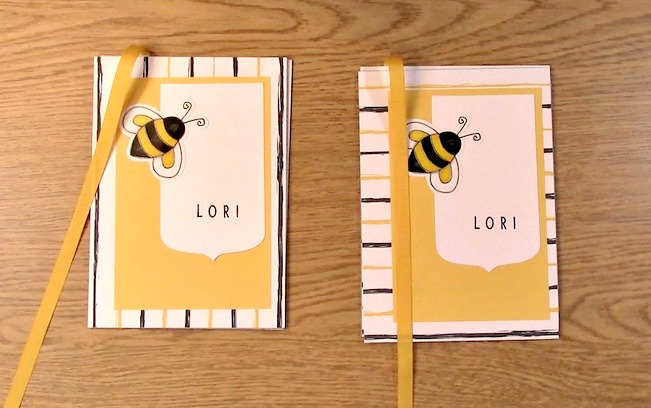
Your Create Your Own Planner Journal Project – Part 1 is complete! Rather than create the same exact project again for the tutorial versus the example, I thought it would be cool to see the difference in how it looks if you could see both completed which is why I did it two different ways. Here they are side by side.
Please be sure to stay tuned for the continuation of this project. Thank you for joining us and we hope you enjoyed going on A Creative Journey with Melissa.


