
Create Your Own Planner Journal Project – Part 3 – Creating Pages for your Planner
Create Your Own Planner Journal Project – Part 3 – Creating Pages for your Planner is what we have for you today. If you haven’t seen the previous tutorials in this series, here is Part 1 and here is Part 2. This is a super easy way to create something special for someone or even yourself! Nowadays everyone has schedules, things to remember, things to do and OH MY-Does it get hectic! What better way to Create your own Planner Journal Project? Well today we are Creating Pages for your Planner. There are so many different ways you can create these pages. You can make alternate pages in different sections, all the same or you can create all different pages for EVERY DAY! Sounds like fun, right? Let’s get started! BUT WAIT! I have some EXCITING NEWS I want to share!! Please be sure to check out our website as we are having a special sale in honor of being featured on the Coffee Loving Cardmakers Blog! Be sure to check it out the feature and show them some love HERE!!! Now…. onto the project… LETS GO!
Supplies Needed
Printer (ink, paper, etc) or go to a copy center
Paper
Paper Trimmer
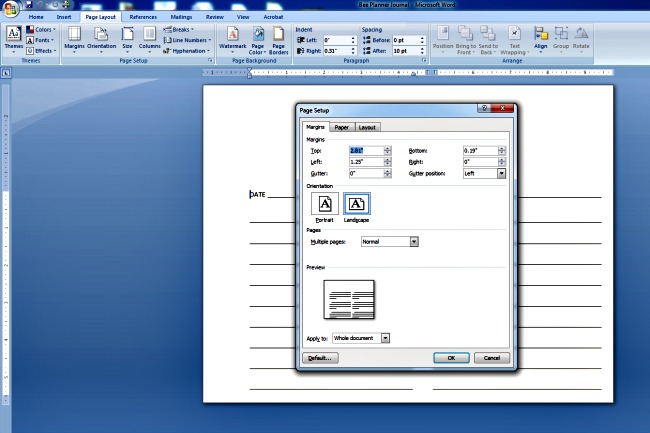
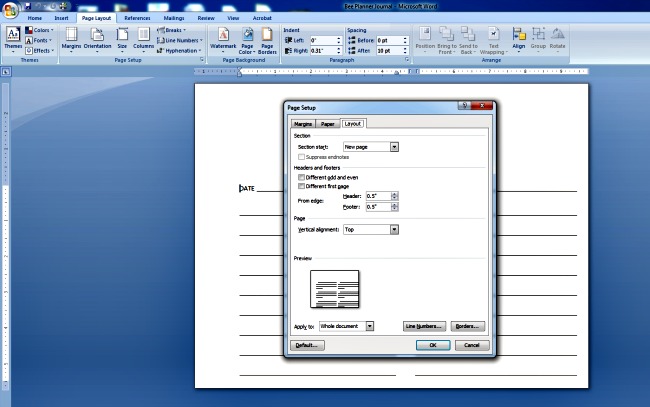
You will need the download or you can create your own in word or similar program. If you want the above free page download, go here to get it. Below are the settings I used for printing my project. If it doesn’t download the same way, I wanted them to be available to you.

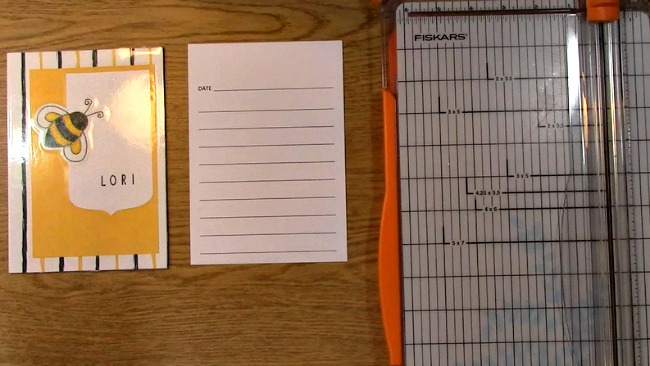
Below are the directions on how I trimmed the page for it to fit into my 5 x 7 planner journal.
I trimmed my pages to approximately 5 x 7. This allowed the pages to fit perfectly to the front and back covers. Adjust your settings and trimming according to the size of the project you plan to create.

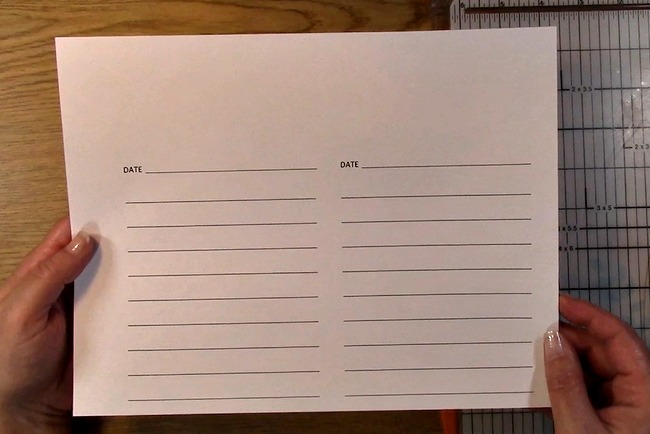
First you trim off 1.5″ from the side as shown above. This is along the top part above where “date” and the lines are.
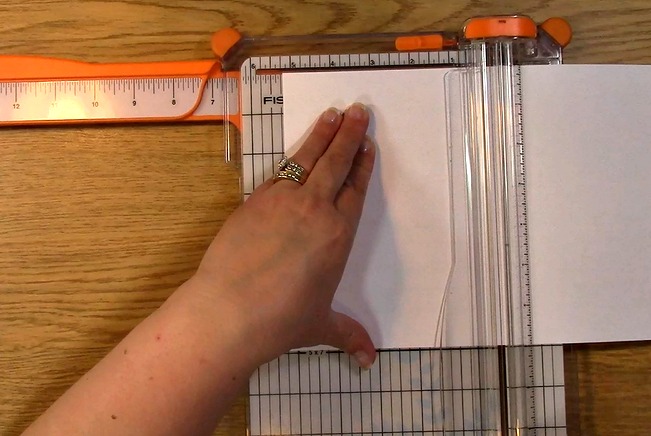
Turn the page upside down so that the word date is closest to the top as shown. You will align the trimmer to 5 3/16″ as shown on the trimmer. Trim your paper.
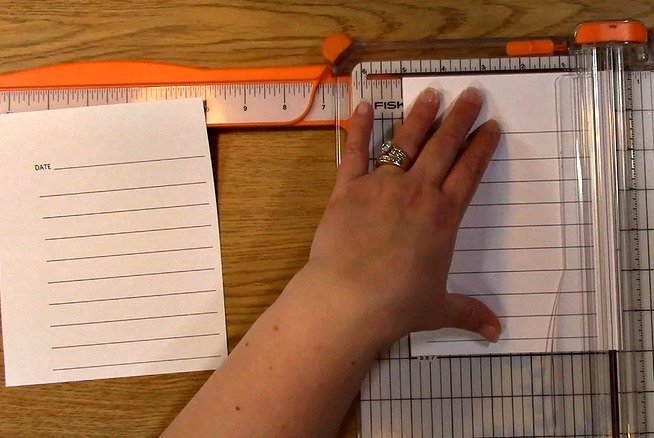
Once you have trimmed the paper, you will trim the right edge of the paper with the word date and lines facing you as shown and cut .25″ off the right side of your paper. Set this aside.

Pick up the other half of the paper as shown and flip upside down so that the area with the most blank space is aligned on the left side. Measure five inches from the left so that the paper will fit your cover.
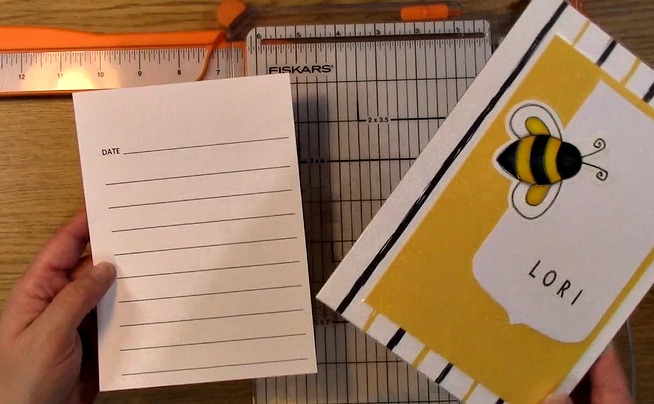
You are done! You have finished Creating Pages for your Planner! Be sure to sign up for our mailings so that you can receive the latest up to date info, sales and of course tutorials!
Thank you so much for joining us today. We hope you enjoyed going on A Creative Journey with Melissa.


