
SAVE MONEY! Coloring Ribbon with Chameleon Pens
SAVE MONEY! Coloring Ribbon with Chameleon Pens is what we have for you today. I know, it really sounds too good to be true but it really is! Today we are going to be coloring ribbon with Chameleon pens and it is so easy and the results are so wonderful, you are going to want to do it over and over again! Are you ready to say WOW?! Let’s get started!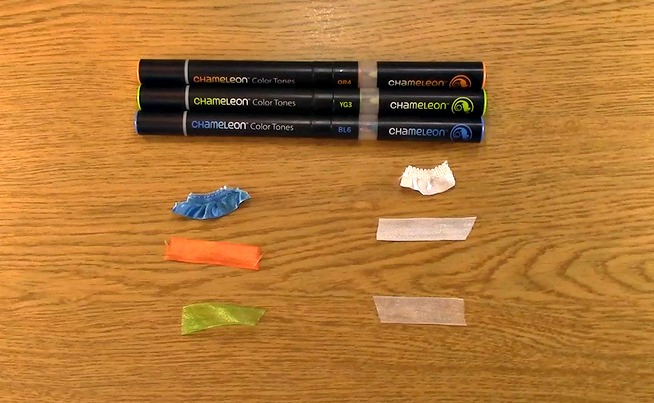
Supplies Needed
Various White Ribbon
Chameleon Pens: Colorless Blender Pen/Blending Solution, YG3, OR4 and BL6
Paper Towel
Protected Work Surface

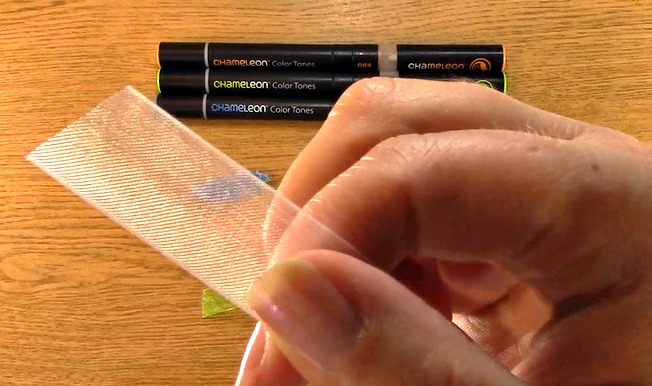
This is the white ribbon I started with.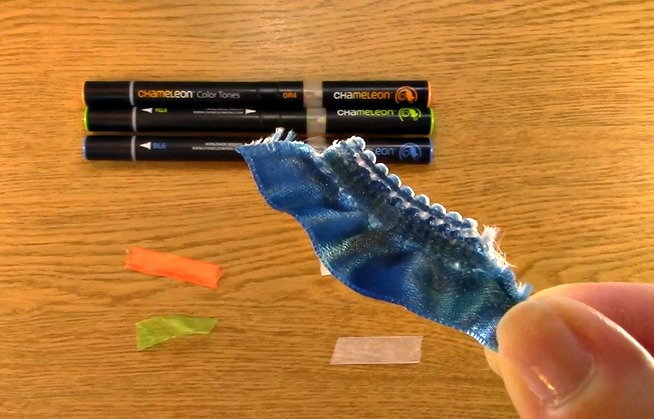
This is after I colored it with the BL6. I love how rich the color is!
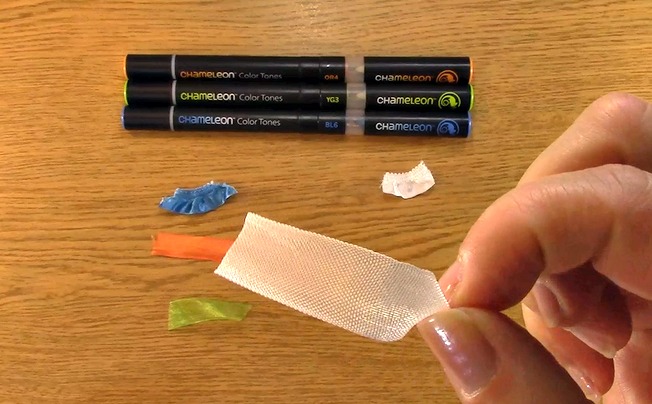
This is seam binding and it started out looking like this.
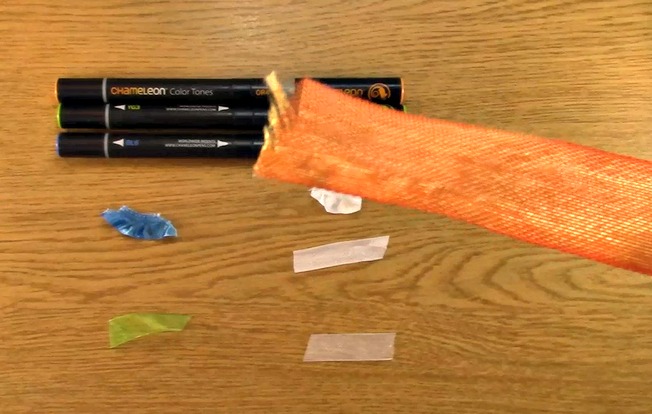
Now it is a beautiful Orange by using the OR4 Chameleon Pen!
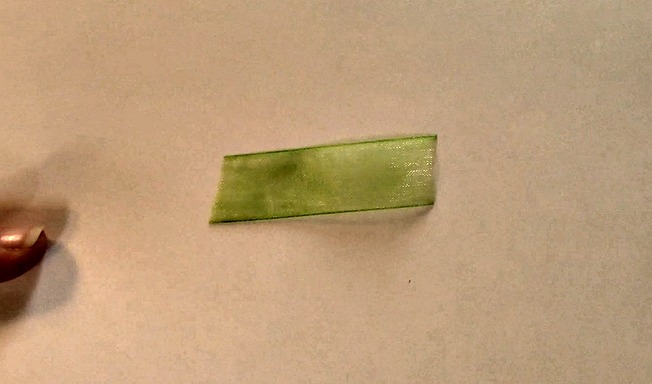
Here is the third white nylon ribbon I started with.
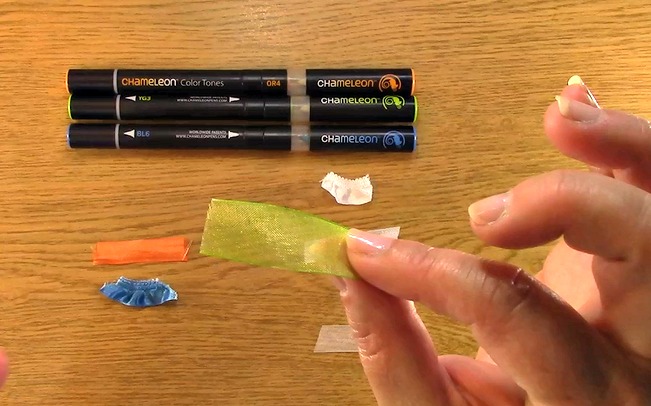
Here it is beautifully green after I colored it with YG3.
Now for the TECHNIQUE! SAVE MONEY! Coloring Ribbon with Chameleon Pens
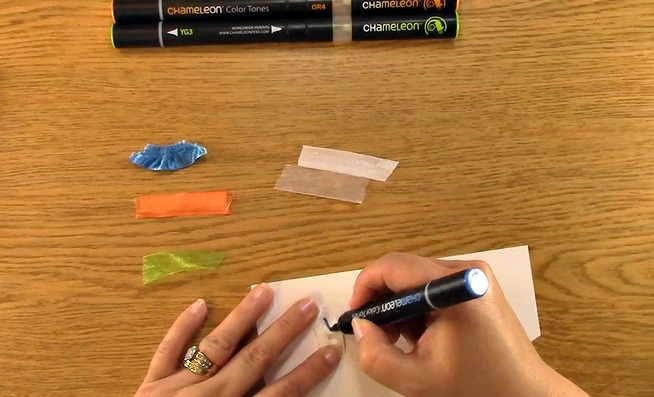
To begin, be sure that your work surface is protected because the ink more than likely will bleed through to your work surface. Always best to protect it before having regrets. Yes, I am speaking from experience! LOL You will then start to color your ribbon. Simply uncap whichever side of the pen you prefer to color with and color directly onto your ribbon.
IMPORTANT CRAFTY TIP
If you are doing a lot of the same color ribbon for a large project, you can use the refill ink which will save you time because you can use more ink to color with in one sitting. I don’t often have projects like that so I usually just use the pens. I would suggest you use a glass bottle with a cap. If you have any left over ink, you can keep it closed and reuse the ink at a later date. This is a tip I learned from my friend Jennie. If it is not closed properly, the ink will evaporate because it’s base is alcohol which will evaporate.
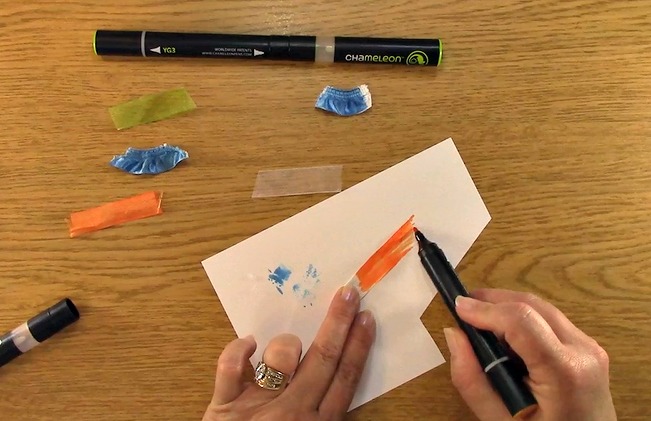
Here is a closer look of what the colored ribbon looked like. I colored more on the right side to show how it became a bit darker versus the left where I only used one layer of color.
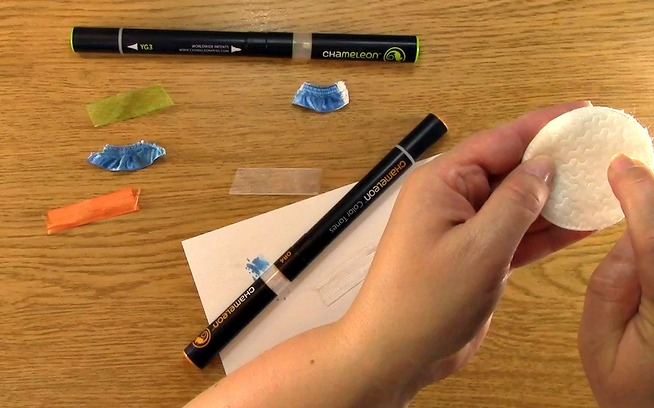
After every time you use the markers, check to see if you have ink on your hands or fingers. If you do, please be sure to take your blending solution or alcohol, spray it on a paper towel or cotton circle and wipe your hands clean.
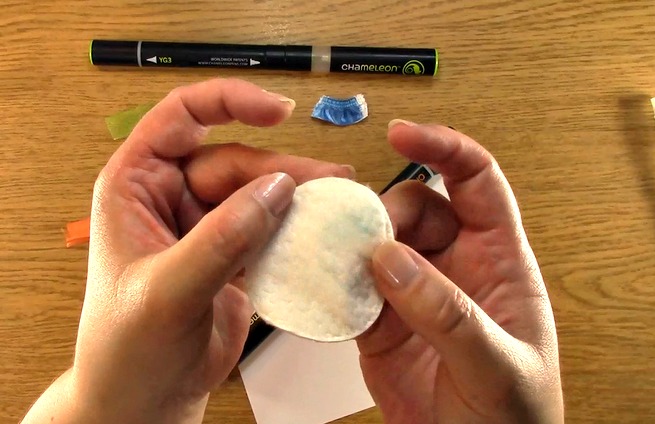
You would not want this color on your project. Yes, this too has happened to me before! LOL
Now we will color the seam binding ribbon.

Moving onto coloring the nylon ribbon.
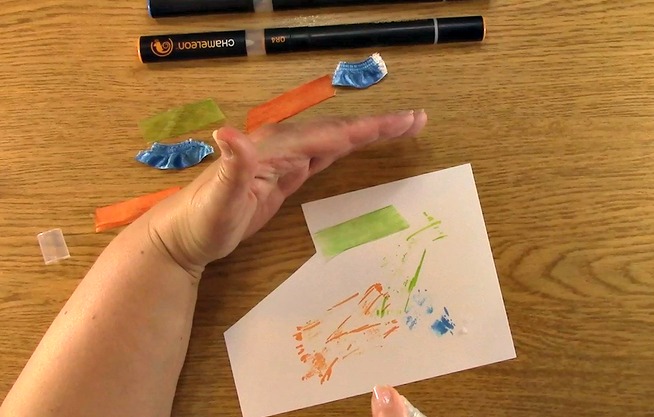
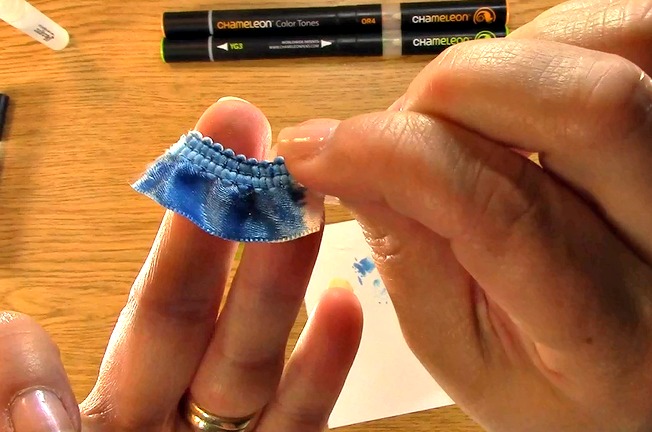
For a little bit of a different look to your ribbon once you have colored it, you can spray some blending solution or alcohol onto your ribbon. This will leave a splatter look to your ribbon as shown.
Here is a close up picture. It almost looks like there are clearer spots where I missed but that is part of the look you get!
We hope you were inspired by this tutorial and be sure to subscribe above to our blog and newsletter. We hope you also subscribe to our YouTube channel for tutorials, product reviews, giveaways and so much more!
Thank you so much for joining us today and we hope you enjoyed going on A Creative Journey with Melissa.


